23 Jun 2008
The Story of a Cob Pizza Oven, Told in Pictures
 There is something delightful about the whole experience of making a clay pizza oven. The creativity of the work, the smell of woodsmoke, the feeling of your skin after a day immersed in clay and sand, the great sense of being part of a team, and the elemental connection with mixing earth, water, straw and fire and producing that great human staple, bread. I just spent the last couple of Sundays making one at my kids school, and it was delightful. Rather than writing a long piece about it, here are some photos to tell the story of the process.
So here we go, The Story of a Cob Oven, Told in Pictures

Measuring out the dimensions of the inner void onto the pre-existing brick base
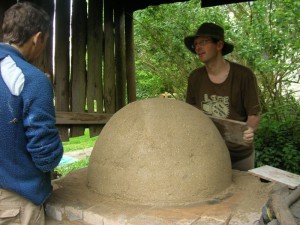
The shape of the inner void is made like a big sandcastle, with damp sand, and then smoothed by being ‘rolled’ with a board

Mixing the inner layer, no straw, just clay and sand mixed in a very particular mix, roughly 7:1, very dry, just enough moisture to hold it together
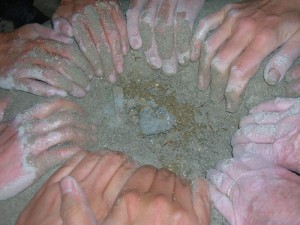
The mix is built up in layers around the sand form….about 3″ thick. Here we are very nearly at the top

Then the scary bit, cutting the opening and taking the sand out. Hearts in mouths….

It worked! Then, when all the sand is out, light a fire to start the drying process straightaway (in theory you should be able to start cooking in it already)

A couple of weeks later, mixing the cob for the outer layer

A fine pile of cob loaves ready to be passed to the stove for building
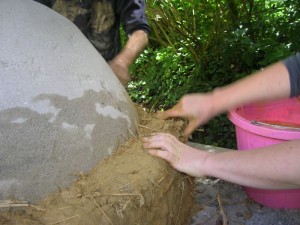
Building up in layers, as before, taking care not to press against the inner layer, and to keep a regular thickness
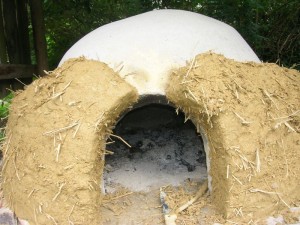
Nearing the top. The gap above the door was filled with specially made cobs called ‘corbel cobs’, where the straw all runs in the same direction.
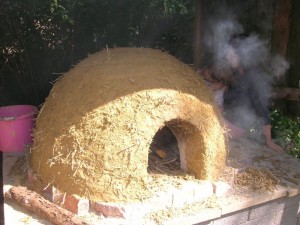
The second layer completed and with a fire in it to hasten the drying process. The outer surface is scored and marked so that when the kids come to decorate it by adding some kind of animal design, it will attach itself easily. Not bad for 2 days work!
Emma
23 Jun 8:24am
Very cool!
Steve Atkins
23 Jun 10:53am
Wow, looks amazing, I really want one of those, tasty looking cob loaves as well !
Is it available in kit form from Tesco Direct?
Adam Dadeby
23 Jun 12:12pm
For those of you in London, there was a cob oven building workshop last Saturday. The ovens will be used in a food swap later in the festival. The festival web page will have more details in the coming days: http://tinyurl.com/694b2c
adrienne
23 Jun 3:26pm
Is anyone willing to run a similar workshop in Lewes, Sussex in the autumn? This lovely process has been on our agenda for ages and wood fired pizzas are to die for!
Graham Burnett
23 Jun 5:19pm
Adrian Leaman of Wholewoods http://www.wholewoods.co.uk might well be able to help you out – he does earth oven workshops amongst other activities and is now based in east Grinstead i think which isn’t too far from your neck of the woods I don’t think???
Anthony Brown
25 Jun 6:02am
Great item very inspiring. Its not mentioned here but wouldnt the oven have to be under cover.
adam
1 Oct 8:35am
that is an exalent idear doing the the thiner layer first. i just wish i found this sit before i started working on mine. Owel maby next time!!